RAID Array Failure
Some RAID levels provide redundancy, but the amount and type of failure they tolerate depends on the layout. Once an array becomes inconsistent or exceeds that tolerance, an attempted rebuild or reconfiguration can overwrite information that would otherwise help reconstruct it.
RAID failed or degraded: what should you do next?
Answer one question about the current state. The result suggests the safer next step rather than diagnosing the failure.
Is the member order/configuration known and are the expected surviving members readable?
Reconstruct cautiously before rebuild.
Document the configuration and verify geometry across the address space. When state is uncertain, virtual reconstruction and extraction are safer than writing a rebuild.
Do not initialize or force a rebuild.
Unknown member state or unreadable disks can make an apparently simple rebuild destructive. Preserve members and determine the authoritative configuration first.
This guide classifies the next recovery action from observable information. It does not diagnose hardware condition or estimate a percentage chance of recovery.
What's actually happening
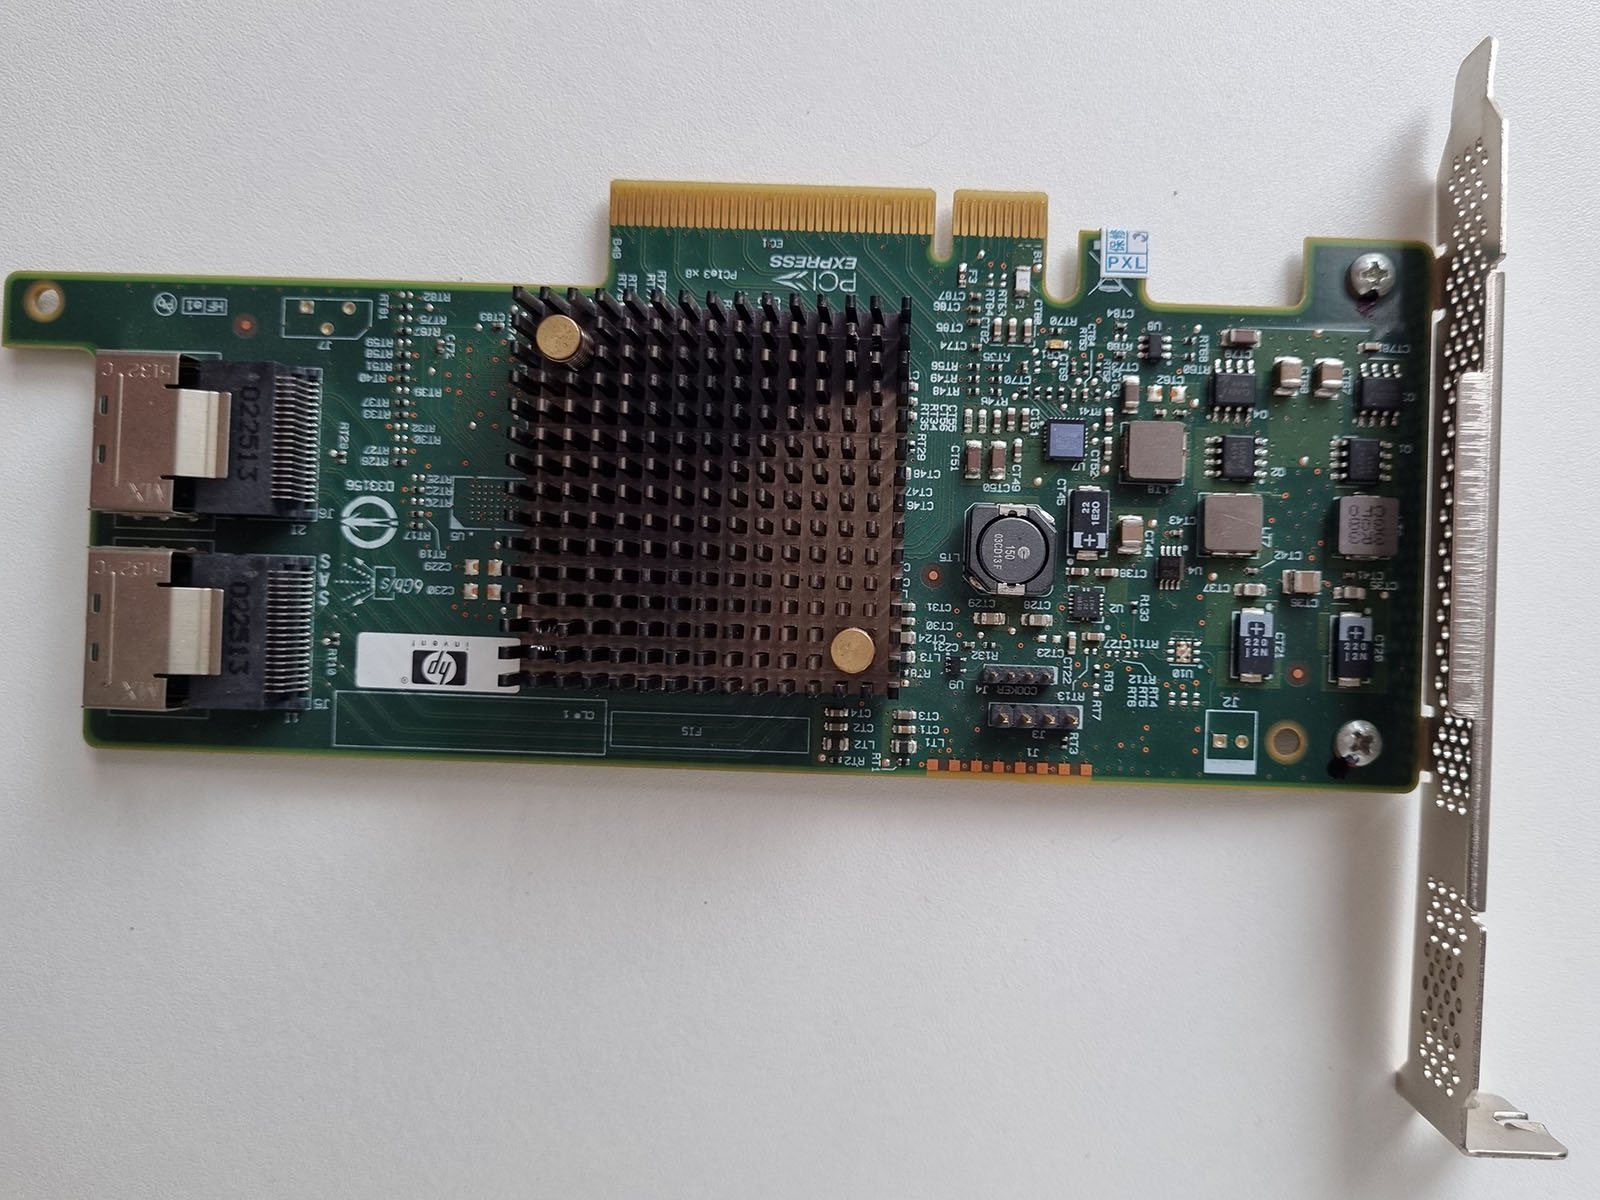
RAID spreads — and, depending on the level, duplicates — data across multiple physical drives according to a specific layout set when the array was created: the RAID level (0, 1, 5, 6, 10...), the order the disks were added in, the stripe size, and sometimes vendor-specific logic on top. When a disk fails, drops out, or the metadata describing that layout gets corrupted, the array as a whole becomes inaccessible even though most of the actual data is still sitting untouched on the surviving disks. The problem is knowing how to put it back together correctly.
How recoverable this really is
It depends which of three quite different situations is actually happening, and they call for different handling:
- Logical failure — the disks themselves are fine, but the array won't mount, due to accidental reconfiguration, a corrupted superblock, or the controller losing track of the layout.
- Physical disk failure still within the array's redundancy — for example one member in RAID 1 or RAID 5, up to two members in a conventional RAID 6, or failures in RAID 10 provided the surviving mirror topology still contains a readable copy of every stripe.
- Failure beyond what the level tolerates — multiple simultaneous disk failures, an interrupted rebuild, or any failure on RAID 0 — where the array has lost its safety margin and reconstruction has to be handled very carefully.
The first is sometimes manageable with care; the second is workable but unforgiving of mistakes; the third has essentially no room for error.
If a rebuild has already started, completed partially or failed after a member replacement, stop treating the incident as an ordinary degraded-array case. Rebuild writes may have created mixed generations across members or address ranges; continue with Failed or Interrupted RAID Rebuild. And if the member devices actually belong to Storage Spaces, Dynamic Disks, LVM, ZFS/Btrfs multi-device storage or another composite pool rather than a conventional RAID set, the missing object may be the pool or virtual-volume mapping rather than RAID geometry — continue with Storage Pool or Composite Volume Failure instead.
What changes the recovery outlook
RAID recoverability is determined by more than the nominal RAID level. The useful question is whether a complete, internally consistent version of the logical address space can still be reconstructed from the members and metadata that remain.
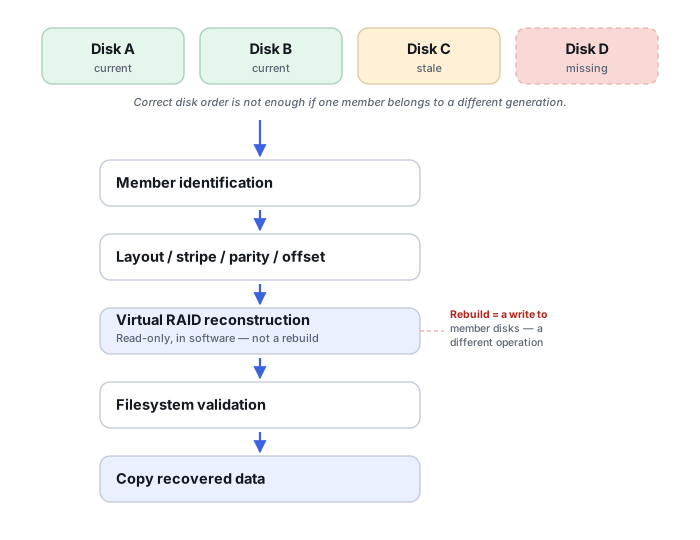
- Which members contain current data. A disk that dropped out hours or days earlier may be readable but stale. Treating it as a current member can silently corrupt reconstruction.
- Whether missing members are actually unreadable. A drive marked failed by a controller may still be readable outside the array; conversely, an online member can be unstable under sustained reads.
- Whether writes continued while degraded. A degraded array that remained in production can have a different generation of data from a member that dropped out earlier.
- Whether the layout is known. Member order, stripe size, data offset, parity rotation and nested RAID structure all matter. A reconstruction that mounts is not automatically a correct reconstruction.
- Whether a rebuild or reconfiguration has already written to members. This can create overlapping generations of valid-looking RAID data.
Controller and vendor metadata is part of the array
On hardware RAID controllers and NAS-style software RAID alike, the metadata describing member role, RAID level and state can live on the disks themselves, on the controller, or both. A disk a controller calls “foreign” is not the same thing as a failed disk. “Foreign” is controller- and vendor-specific terminology; on controllers that implement this state, the label generally means the controller has detected array metadata or configuration that isn't part of its currently active configuration, but the exact semantics and the safe way to import it are specific to that vendor and controller. See RAID Metadata, Member State and Foreign Configurations before importing or clearing anything a controller flags this way.
Reconstructing the RAID geometry is also often only the first layer. NAS and SAN systems may stack LVM, a storage pool, or thin allocation above the RAID layer itself, so a correctly reconstructed array can still sit beneath a damaged pool or allocation map. See Reconstructing NAS Storage Stacks and SAN Storage Stack Reconstruction.
What you can document safely
Before changing anything, record what the storage system already knows: controller model, RAID level, member serial numbers and bay order, which members are online/offline/degraded, capacity of each disk, event logs, and the sequence in which failures were noticed. Photographing the bays and labels before removing disks is often more useful than trying to remember the order later.
Also distinguish the array is degraded but accessible from the array is offline. If data is still accessible, copying irreplaceable files may be reasonable when the members are stable; if one or more disks are producing read errors or disappearing, preservation by imaging takes priority over repeated file-level reads.
A plausible reconstruction still needs validation
Wrong RAID parameters can produce a volume that partly mounts, shows directories, or even opens some small files. That is not enough to prove the geometry is correct. Validation should use structures and files from different regions of the virtual array, not only the beginning. File-system metadata, large files spanning many stripes, checksums where available, and known file formats can all expose a reconstruction that is only superficially convincing.
If many recovered files come back damaged in a similar pattern, that is evidence that should trigger re-validation of the array geometry and lower reconstruction layers before repairing files individually — don't diagnose the cause from the pattern alone. See Recovered Files Won't Open for how to read the failure pattern, then recheck: member order, stripe size, data offset, parity rotation, stale members left in a rebuild, and assumptions made about a missing member before repairing individual files.
The general approach
Recovery starts by determining the original array parameters — level, disk order, stripe size, offset — either from surviving metadata or, if that's gone, by analyzing the raw data on each disk for the repeating patterns RAID striping leaves behind. From there, the data stream is virtually reconstructed without altering the source disks. This is normally done by imaging each drive individually first and working only from those copies afterward. Any disk that's physically struggling needs to be imaged with tools tolerant of read errors before reconstruction is attempted at all, because rebuilding an array means reading every disk repeatedly — and a failing drive often won't survive that many passes.
Don't start or restart a rebuild, initialize members, or try alternate disk orders or RAID parameters when the array state is uncertain, multiple members are missing, or a previous rebuild has failed. A routine rebuild of a correctly identified degraded array is normal maintenance; the danger is rebuilding when the assumed member set or layout is wrong, because parity or mirror writes can overwrite data needed for recovery.
RAID reconstruction is where professional-grade tools matter most — software like UFS Explorer or R-Studio is built to analyze member disks and rebuild arrays directly. See the full directory of recovery software by vendor. Before any of this happens, the enclosure the array was built in matters too — see Drive Cages & RAID Enclosures for what actually separates a real hardware-RAID device from a box that just happens to hold several drives. For an array that needs full physical or cleanroom-level reconstruction rather than a software rebuild, see our directory of major physical recovery providers · Understanding Storage Layers Before Recovery · RAID Metadata, Member State and Foreign Configurations · Storage Metadata Generations and Consistency · Recovering After an Interrupted RAID Rebuild · RAID, NAS and SAN Reconstruction Tools.
This page describes the general situation, not a guaranteed fix for your specific case. If you'd rather have someone experienced take a look before you try anything, see what a hands-on evaluation looks like.